使用 Go 和 Tk 创建 GUI
파이썬에는 Tkinter 와 같은 GUI 라이브러리가 기본적으로 내장되어 있습니다. 최근에 Go 언어에서도 Tcl/Tk를 사용할 수 있도록 CGo-Free, Cross Platform Tk 라이브러리가 개발되었습니다. 오늘은 그 기초적인 사용법을 살펴보겠습니다.
Hello, Tk 만들기
먼저 간단한 'Hello, TK!' 예제로 시작해보겠습니다.
 1package main
 2
 3import tk "modernc.org/tk9.0"
 4
 5func main() {
 6    tk.Pack(
 7        tk.TButton(
 8            tk.Txt("Hello, TK!"),
 9            tk.Command(func() {
10                tk.Destroy(tk.App)
11            })),
12        tk.Ipadx(10), tk.Ipady(5), tk.Padx(15), tk.Pady(10),
13    )
14    tk.App.Wait()
15}
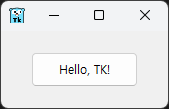
위 예제 코드와 실행 결과를 자세히 살펴보겠습니다.
파이썬의 Tk를 사용해본 경험이 있는 분이라면, 창 안에 위젯이 패킹되거나 창 하위에 직접 위젯이 패킹되는 구조를 이해하실 것입니다. 위젯의 종류에 따라 라벨 등이 그 안에 포함됩니다.
Ipadx와 Ipady는 Internal padding의 약자로, 내부 위젯들의 여백을 조절합니다. 이 예제에서는 버튼의 여백이 조정됩니다.
이 라이브러리에는 Window 구조체가 있으며, App이라는 변수가 최상위 창을 관리합니다. 이는 라이브러리 내부에 미리 정의되어 있습니다. 따라서 tk.App.Wait()를 종료하는 tk.App.Destroy() 함수가 최상위 창을 닫는 역할을 합니다.
이제 GitLab의 _examples 폴더에 있는 몇 가지 예제를 살펴보겠습니다.
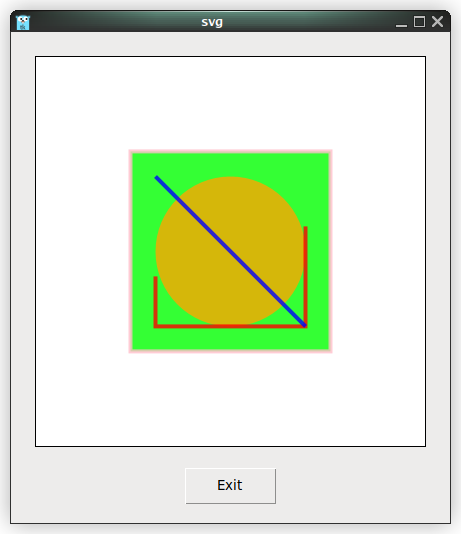
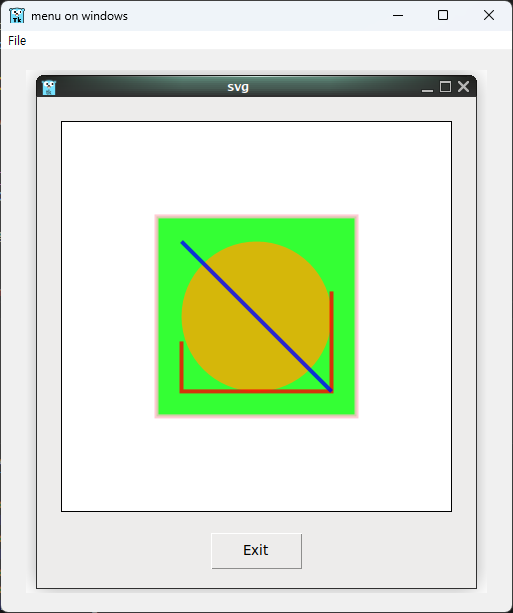
SVG 파일 처리하기
다음은 SVG 파일을 라벨 위젯에 표시하는 예제입니다.
 1package main
 2
 3import . "modernc.org/tk9.0"
 4
 5// https://en.wikipedia.org/wiki/SVG
 6const svg = `<?xml version="1.0" encoding="UTF-8" standalone="no"?>
 7<!DOCTYPE svg PUBLIC "-//W3C//DTD SVG 1.1//EN" "http://www.w3.org/Graphics/SVG/1.1/DTD/svg11.dtd">
 8<svg width="391" height="391" viewBox="-70.5 -70.5 391 391" xmlns="http://www.w3.org/2000/svg" xmlns:xlink="http://www.w3.org/1999/xlink">
 9<rect fill="#fff" stroke="#000" x="-70" y="-70" width="390" height="390"/>
10<g opacity="0.8">
11    <rect x="25" y="25" width="200" height="200" fill="lime" stroke-width="4" stroke="pink" />
12    <circle cx="125" cy="125" r="75" fill="orange" />
13    <polyline points="50,150 50,200 200,200 200,100" stroke="red" stroke-width="4" fill="none" />
14    <line x1="50" y1="50" x2="200" y2="200" stroke="blue" stroke-width="4" />
15</g>
16</svg>`
17
18func main() {
19    Pack(Label(Image(NewPhoto(Data(svg)))),
20        TExit(),
21        Padx("1m"), Pady("2m"), Ipadx("1m"), Ipady("1m"))
22    App.Center().Wait()
23}
이 라이브러리에서 SVG를 처리하는 방법은 다음과 같습니다:
- SVG 파일의 내용을 문자열로 읽어들입니다(또는 위 예시처럼 직접 포함시킵니다).
- 이 내용을 Data 함수에 전달하여 옵션이 포함된 문자열로 변환합니다(-data 옵션).
- 변환된 바이트값은 NewPhoto 함수로 전달되어 Tcl/Tk 이미지를 표현하는 Img 구조체 포인터를 반환합니다.
- Image 함수를 통과하면서 Img 구조체 포인터는 -Image 옵션이 추가된 문자열로 변환됩니다。
- 구조체 RAW 값을 담은 문자열로 변환하는 이유는 Label 위젯 생성을 위해서입니다.
ICO와 PNG 파일도 비슷한 방식으로 처리됩니다.
PNG 파일 처리하기
 1package main
 2
 3import _ "embed"
 4import . "modernc.org/tk9.0"
 5
 6//go:embed gopher.png
 7var gopher []byte
 8
 9func main() {
10    Pack(Label(Image(NewPhoto(Data(gopher)))),
11        TExit(),
12        Padx("1m"), Pady("2m"), Ipadx("1m"), Ipady("1m"))
13    App.Center().Wait()
14}
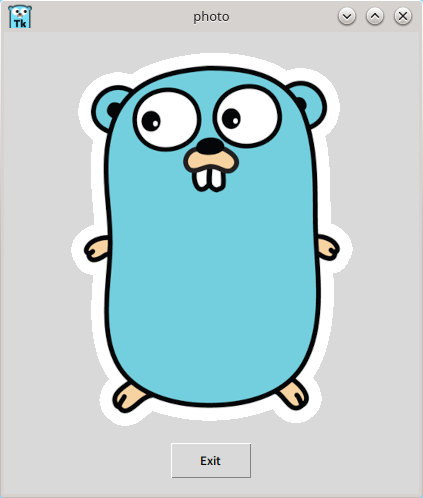
PNG 파일 처리 과정은 다음과 같습니다:
- 임베딩된 gopher.png를 옵션이 포함된 문자열 타입으로 변환합니다。
- NewPhoto 函数를 통해 *Img 类型으로 변환합니다。
- Image 函数를 거쳐 RAW 문자열로 변환된 후, 라벨 위젯으로 생성됩니다。
ICO 파일도 동일한 방식으로 처리되며, SVG 포맷과의 차이점은 Data 함수 내부 처리 방식뿐입니다.
여기서 "옵션이 포함된 문자열"의 정체를 살펴보겠습니다:
1type rawOption string
앞서 언급한 옵션이 포함된 문자열은 단순히 포맷팅된 문자열에 불과합니다.
1func (w *Window) optionString(_ *Window) string {
2    return w.String()
3}
optionString 메서드는 Window 포인터에 대한 메서드로, 문자열을 반환합니다.
마지막으로 Data 함수의 내부 구조를 간단히 살펴보겠습니다:
 1func Data(val any) Opt {
 2    switch x := val.(type) {
 3    case []byte:
 4        switch {
 5        case bytes.HasPrefix(x, pngSig):
 6            // ok
 7        case bytes.HasPrefix(x, icoSig):
 8            b := bytes.NewBuffer(x)
 9            img, err := ico.Decode(bytes.NewReader(x))
10            if err != nil {
11                fail(err)
12                return rawOption("")
13            }
14
15            b.Reset()
16            if err := png.Encode(b, img); err != nil {
17                fail(err)
18                return rawOption("")
19            }
20
21            val = b.Bytes()
22        }
23    }
24    return rawOption(fmt.Sprintf(`-data %s`, optionString(val)))
25}
코드를 보면 ICO나 PNG 파일의 경우 인코딩/디코딩 과정이 필요합니다. 그 외의 경우에는 특별한 변환 없이 바이트형으로 변환된 문자열에 -data 옵션만 추가하여 Data 함수의 결과물임을 표시합니다.
메뉴 위젯으로 이미지 불러오기
앞서 연습한 PNG, ICO 불러오기 예제에 메뉴 위젯을 추가하면 필요한 이미지를 표시하는 애플리케이션을 만들 수 있습니다.
먼저 간단한 메뉴 위젯 예제를 살펴보겠습니다.
 1package main
 2
 3import (
 4    "fmt"
 5    . "modernc.org/tk9.0"
 6    "runtime"
 7)
 8
 9func main() {
10    menubar := Menu()
11
12    fileMenu := menubar.Menu()
13    fileMenu.AddCommand(Lbl("New"), Underline(0), Accelerator("Ctrl+N"))
14    fileMenu.AddCommand(Lbl("Open..."), Underline(0), Accelerator("Ctrl+O"), Command(func() { GetOpenFile() }))
15    Bind(App, "<Control-o>", Command(func() { fileMenu.Invoke(1) }))
16    fileMenu.AddCommand(Lbl("Save As..."), Underline(5))
17    fileMenu.AddSeparator()
18    fileMenu.AddCommand(Lbl("Exit"), Underline(1), Accelerator("Ctrl+Q"), ExitHandler())
19    Bind(App, "<Control-q>", Command(func() { fileMenu.Invoke(4) }))
20    menubar.AddCascade(Lbl("File"), Underline(0), Mnu(fileMenu))
21
22    App.WmTitle(fmt.Sprintf("%s on %s", App.WmTitle(""), runtime.GOOS))
23    App.Configure(Mnu(menubar), Width("8c"), Height("6c")).Wait()
24}
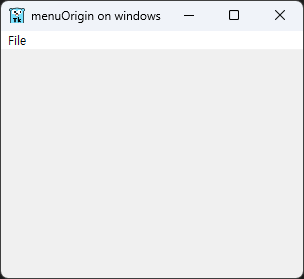
이 예제에서는 메뉴 바와 메뉴 생성, 글자 강조, Command 옵션, 단축키 바인딩, 그리고 애플리케이션 창의 초기 크기를 설정해보았습니다.
이제 GetOpenFile로 지정된 Command 함수를 수정하여 이미지를 불러와 표시하는 프로그램을 만들어보겠습니다.
프로그램 작성 계획은 다음과 같습니다:
- PNG와 ICO 파일만 열 수 있도록 제한
- 파일 다이얼로그에서 선택한 파일 처리
- 이미지 표시를 위한 위젯 구현
다음은 이러한 계획을 반영한 코드입니다:
 1package main
 2
 3import (
 4    "fmt"
 5    "log"
 6    "os"
 7    "runtime"
 8    "strings"
 9
10    . "modernc.org/tk9.0"
11)
12
13func handleFileOpen() {
14    s := GetOpenFile()
15    for _, photo := range s {
16        formatCheck := strings.Split(photo, ".")
17        format := formatCheck[len(formatCheck)-1]
18
19        if (strings.Compare(format, "png") == 0) || (strings.Compare(format, "ico") == 0) {
20            picFile, err := os.Open(photo)
21            if err != nil {
22                log.Println("Error while opening photo, error is: ", err)
23            }
24
25            pictureRawData := make([]byte, 10000*10000)
26            picFile.Read(pictureRawData)
27
28            imageLabel := Label(Image(NewPhoto(Data(pictureRawData))))
29            Pack(imageLabel,
30                TExit(),
31                Padx("1m"), Pady("2m"), Ipadx("1m"), Ipady("1m"))
32        }
33        picFile.Close()
34    }
35}
36
37func main() {
38    menubar := Menu()
39
40    fileMenu := menubar.Menu()
41    fileMenu.AddCommand(Lbl("Open..."), Underline(0), Accelerator("Ctrl+O"), Command(handleFileOpen))
42    Bind(App, "<Control-o>", Command(func() { fileMenu.Invoke(0) }))
43    fileMenu.AddCommand(Lbl("Exit"), Underline(1), Accelerator("Ctrl+Q"), ExitHandler())
44    Bind(App, "<Control-q>", Command(func() { fileMenu.Invoke(1) }))
45    menubar.AddCascade(Lbl("File"), Underline(0), Mnu(fileMenu))
46
47    App.WmTitle(fmt.Sprintf("%s on %s", App.WmTitle(""), runtime.GOOS))
48    App.Configure(Mnu(menubar), Width("10c"), Height("10c")).Wait()
49}
위 코드는 다음과 같은 방식으로 작동합니다:
- strings 패키지의 문자열 비교 함수로 파일 확장자를 확인합니다
- os 패키지를 사용해 파일을 열고 읽은 후 닫습니다
- 읽어들인 이미지는 레이블 위젯으로 표시됩니다
정리
이번 글에서는 Go 언어의 Tcl/Tk 라이브러리를 활용하여 다음 내용을 다뤘습니다:
- GUI 애플리케이션 기본 구조
- SVG, PNG, ICO 등 다양한 이미지 포맷 처리
- 위젯 패킹과 레이아웃 관리
- 이미지 데이터 처리 구조
- 단축키 바인딩과 위젯 커맨드
Go 언어와 Tcl/Tk를 함께 사용하면 간단하면서도 실용적인 GUI 프로그램을 만들 수 있습니다. 이를 바탕으로 더 복잡한 GUI 애플리케이션 개발에 도전해보시기 바랍니다.